
After going down the rabbit hole with trying to find a copy of the two incredibly hard to find tile and monster expansions for Mansions of madness second edition, recurring nightmares and supressed memories I finally caved in and decided to make a project out of it.
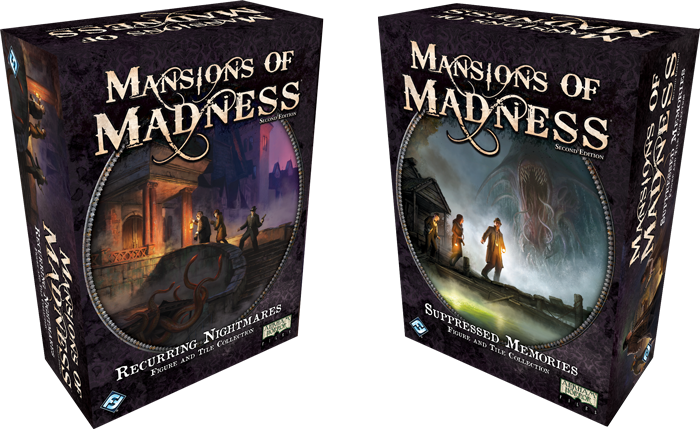
Firstly for those who have no idea what these two expansions are lets start off there. Suppressed memories and recurring nightmares were 2 small box expansions which added tiles and monsters from the first edition of the game to the new second edition. There was very little in terms of value when compared to the other expansions released for the 2nd edition of the game which are readily available now. Suppressed memories and recurring nightmares were both released some years ago now and were avalible at the retail level for some time. They then totally disappeared from shelves leaving people to find them only on the secondary market. Current costs range from $300-$1000 AUD per box.
As a result of this exorbitant price I decided to fill my time going down the metaphorical rabbit hole and seeing how I can overcome this issue. During my search to finish my otherwise complete collection I stumbled across a reedit thread with instructions on how to make your own set of tiles, monster minis and player cards. https://www.reddit.com/r/MansionsOfMadness2E/comments/srnxqu/reconstructing_recurring_nightmares_and/
Being in the business of making components for board games for all things Lovecraft I thought it would be a great side project to pass the time between making Arkham Horror LCG components and thinking up new ideas for products.
And thus the journey began...
Firstly, enough thanks can not be given to the MOM community in providing all the high quality scans and STL files for both the expansions. There are more resources available for MOM than almost any other game when it comes to building old out of print expansions.
With the thanks out of the way lets get stuck into the building. The first step was printing all the miniatures for the monsters and investigators.
Step 1 Mini printing:
This was perhaps the most time consuming part of the process due to the large amount of Minis which needed to be printed. I used an Eligoo Mars 3Pro to print the minis and managed to print them in around 8 batches taking around 2-3 days of printing on and off. I used anycubic standard grey resin for these builds as its both adorable and is of an acceptable quality for minis of this type. Thankfully many of the original mini stl files were free online for download. After downloading and slicing the files for printing I began printing the batches of prints. The printed miniatures were washed with mentholated spirits and cured under a UV lamp. 
The next item to address was that of the monster bases after much thought I decided to use clear acrylic bases. I cut circular bases in various sizes which i thought would look good for each miniature. This was done with a laser cutting machine but clear acrylic bases are readily available on eBay and Etsy.

Step 2 Printing the map tiles:
This was perhaps the most costly and tedious part of the entire process. The issue is both the printing of both the map tiles and the acquisition of cardboard which is similar to that of the base game. A note that I live in Australia and all my printing was done via Officeworks supply store also being in AUS I used metric sized paper A4 size). I first printed the pre made and scaled map tiles available on the redit thread on various types of paper. I tried gloss, silk, regular and parchment. The gloss seemed to have a nice colour contrast but was way to different from the other tiles being way too reflective. The silk was much the same as gloss but slightly less reflective. In the end the parchment was by far the best and looked about 95% the same as the tiles in the base game.
The parchment paper was thick and matt while also having the appearance of a linen finish. Unfortunately it was also extremely expensive resulting in the cost of all the printing combined being around $60 for around 50 pages. While this cost is high it does really make all the difference. The second issue when trying to assemble these tiles was that of the cardboard core. Fantasy Flight Games uses a 2mm chipboard cardboard made from mostly recycled fibres in their products. While this cardstock may be easy to get for game producers and even be cheap in bulk it is actually quite hard to find at the consumer level.

I looked high and low at Officeworks and other arts stores to find something which is similar in nature. There was nothing at all to be found which was thick enough or cheap enough to justify the cost. There was an option to buy sketch books and use the backing which is essentially the same thing but needing over 30 A4 size pages and each sketchbook being $3-$8 it was going to be far too expensive. In the end I managed to fins a local book binder who supplied 2mm chipboard cardboard at $30 for 40 sheets.
Finally having the cardboard core and the printing complete we could finally start to assemble the map tiles. I glued the sheets of printed parchment to the cardboard core with a PVA glue using a foam roller for gluing cardboard and paper. After letting the parts dry between some heavy books overnight I cut them with a ruler and a craft knife trying my best to make them the same size as the core box.


Step 3 Monster tokens and NPC tokens:
These tokens are found in the conversion kit which was originally supplied with the base game of MOM 2nd Edition but now newer copied no longer have this included. Fortunately high quality PDF print and play copies are available on the FFG website under additional information at the bottom of the MOM 2nd edition product page. I downloaded these tokens and printed them on the same paper as the map tiles sticking them to the cardboard and cutting them out the exact same way.
Step 4 Printing unique cards:
There are just a few cards which form part of the conversion kit which need to be printed. As I use card sleeves for all my MOM 2nd edition cards I chose to print them on regular paper folding them over to align the backs and fronts before laminating them together with a regular laminator machine. I then cut the cards to size and placed them in card sleeves for the investigator cards and the unique cards. This made them more or less the same in terms of the other cards when all sleeved up.
Final conclusion:
Having made the tiles and glues the miniatures to their bases this project was a huge amount of fun! The project took 3 weeks in total working on small things on and off. The cost was around $150 all up with all things considered. I cant give enough thanks to the Mansions of madness community who came together to make the google drive with everything you would ever need to remake these expansions without taking out a second mortgage.
If anyone has any questions please do leave a comment below!